Black carbon filtering
This page gives detailed directions on how to sample and filter snow for LAHM light absorbing particle work. Details on the first study using this technique can be found at: The Cryosphere Article
This specific set of videos was made for the University of Alaska, Fairbanks "Dirty Snow" citizen science project. The audio includes some specifics which were mainly for the "Dirty Snow" project. This document will note where differences can and should be made.
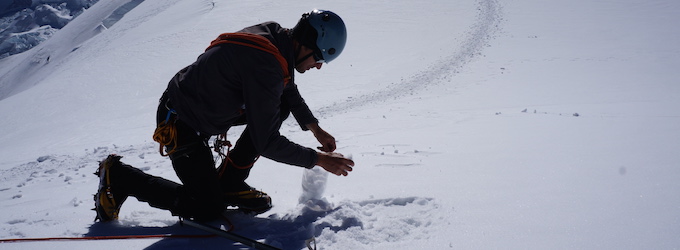
The first step of sampling is to collect your snow. The link below is to a video where I demonstrate the collection of snow. At each collection site, I collect two snow samples, one from the surface and one from below. I use a standard 12 inch or 30 cm ruler to measure out a square, then I collect the top 1-3 cm within that square for the surface sample and I collect a larger sample from below. Your sampling site should be located well away from local sources (trees, roads, exposed soil etc). A video is here:
Snow samples should be kept frozen until it is time to process the samples. This is because black carbon can be sticky and could stick to the surface of the bag. When it is time to melt the snow, the best way is to place the plastic bag into a bucket of warm water. The water should be about body temperature, not too hot. A video is here:
Once your sample is melted, be careful to not accidentally dump it out:
Load the filter holder with a filter:
Fill the syringe and attach the filter holder to the syringe:
Filling the syringe and starting filtering
The act of filtering the water (pushing the water out of the syringe through the filter) is something that needs to be done uniformly:
Once you finish with a syringe of water, you will likely need to reload the syringe.
Reloading the syringe with water
When you finish filtering a bag, you will likely have a partial syringe. Be sure to note the amountt.
After you finish with pushing all of the water through, pushing a few ml of air through the filter helps it dry faster.
Push some air through the filter
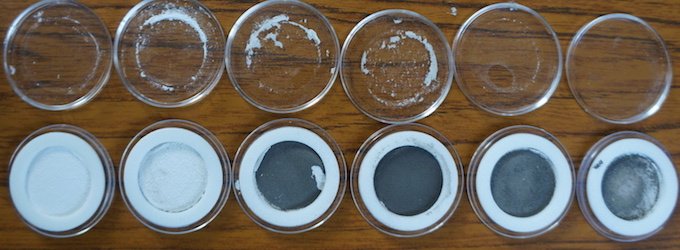
Carefully remove the filter from the holder and place it into the coin holder. If possible, allow the filter to air dry before sealing it up.
While it is drying, it helps prevent sticking to lift the filter off of the coin holder surface.
While drying, lift the filter once
Once the filter is dry, put together the coin holder and seal it up. Don't forget to label it too!
Close up the coin holder for storage
Equipment:
The following links are the websites where I get the equipment for filtering.
Filters, Pall Tissuquartz 25 mm circles from neobits
Filter holders, Millipore 25 mm swinnex Luer lock filter holders
Coin holders, Order size T30.6 with 23 mm white rings.
The above suppliers have been reliable and fast for me in the past, but not necessarily the least expensive. BE AWARE THAT IN SOME CIRCUMSTANCES, IT HAS TAKEN SEVERAL MONTHS TO RECEIVE EQUIPMENT. SOME OF THESE ITEMS ARE NOT HIGH DEMAND ITEMS SO THEY ARE NOT ALWAYS STOCKED. Use of a different filter type could have an unknown affect on results with my instrumentation, so it is highly recommended to use the tissuquartz filters for consistency. Other items necessary include plastic bags. I buy 1 gallon (4 liter) ziploc plastic bags from the grocery store.